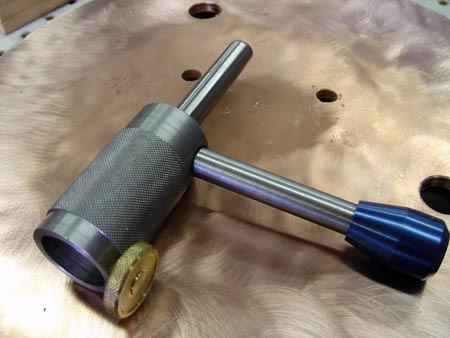
Threading Die Holder

Not a lot of magic here but I've been putting off making a die holder for ages. This took me about an hour and a half which is a fraction of the time I've spent trying to find some creative way to get a die threaded onto a shaft...crooked.
They only thing that requires any precision on the part of the machinist is the seat that holds the die and the subsequent location of the small threaded hole that carries the locking screw.
After living without a die holder for several years, this should definitely be in the top five list for a new machinist.

Initially I had a set screw to lock the die in place but it was a pain to find every time so I made this brass knob...and threaded it using the die holder.
I used a 4" x .5" dowel pin I got from McMaster and reamed the die holder.
The blue knob is a leftover from the shoptask knobs I made a long time ago...still haven't got the anodizing rig set up again after I moved to California.
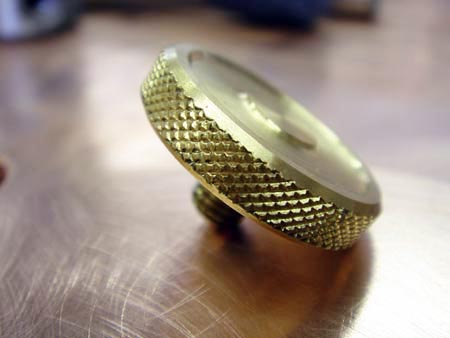
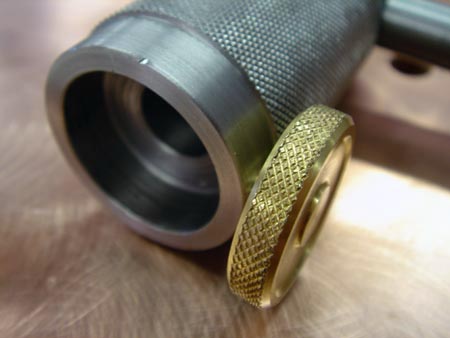
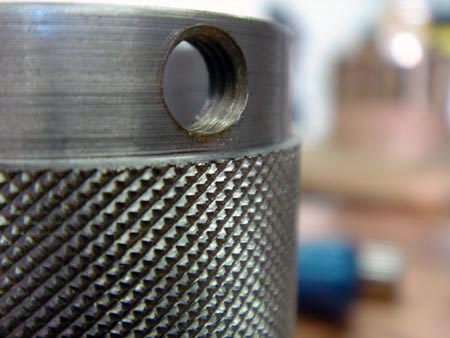
Those are some nice deep knurls if I don't say so myself! I don't usually cut knurls full depth because they get pretty aggressive but I really wanted to be able to crank on this thing.
I should be able to thread most smaller diameter work without needing to attach the handle.
A note, make sure your handle is short enough to clear the carriage or any potential obstruction. I had another handle "lying around" but it was about a 1/4" too long so I had to make a new one.